When it comes to online businesses or websites, there is nothing more important than offering a great checkout and payment experience. And for this, you often need the best WooCommerce payments plugin at your disposal.
Considering the fact that eCommerce development agencies frequently require a full-fledged payment method for their clients’ projects/websites, InstaWP has added a new partner to our fast-growing list of collaborations.
This time, we have partnered with PeachPay for WooCommerce.
With this, our WordPress sandboxing tool is now capable of pre-installing this cool plugin for WooCommerce checkouts and payments on your eCommerce sites while spinning them up in 1 click from our dashboard.
Excited to learn more about it? Let us elaborate.
PeachPay for WooCommerce: A Quick Overview
PeachPay is your one-stop solution for checkout and payments. The plugin allows its users to connect 20+ payment methods including the popular options like Stripe, Authorize.net, Square, PayPal, Amazon Pay, Google Pay, and more. So, if you enable it for your online store, you won’t need other payment methods in all probability.
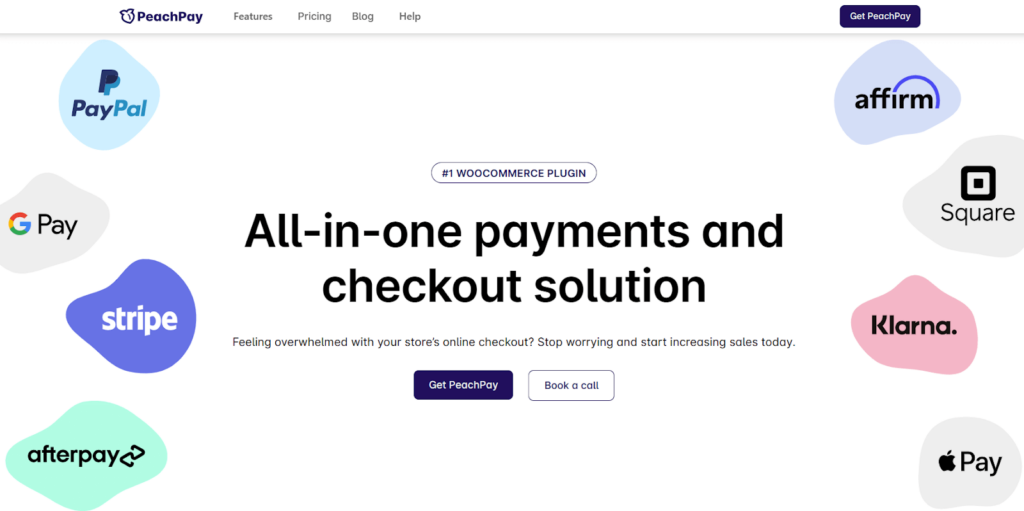
Premium users of the PeachPay for WooCommerce plugin have access to advanced features, such as, currency switcher, checkout field editor, and recommended products.
The InstaWP-PeachPay Partnership
Now that we have introduced you to PeachPay, you must have already understood why we were interested in this collaboration from the very beginning.
InstaWP is always looking forward to improving the development and testing experience for its users. Our WooCommerce clientele wished to have a way to quickly find the useful plugins in our dashboard, and we took it very seriously.
Why this Partnership?
The main reason to join forces with PeachPay is the fact that this plugin simplifies payment operations for WooCommerce stores. Developers, instead of using multiple payment plugins, can directly use it while creating an eCommerce site in InstaWP. It will help them quickly deliver WooCommerce projects.
How it Works?
InstaWP- PeachPay partnership is going to help InstaWP users quickly install PeachPay as they create a site. The process won’t require you to manually search for the plugin in WP repo, click install, and wait for it. Just select PeachPay from the WooCommerce section as you build a site from scratch and you will find it installed on your fresh WP instance.
Let’s explain how InstaWP and PeachPay integration works.
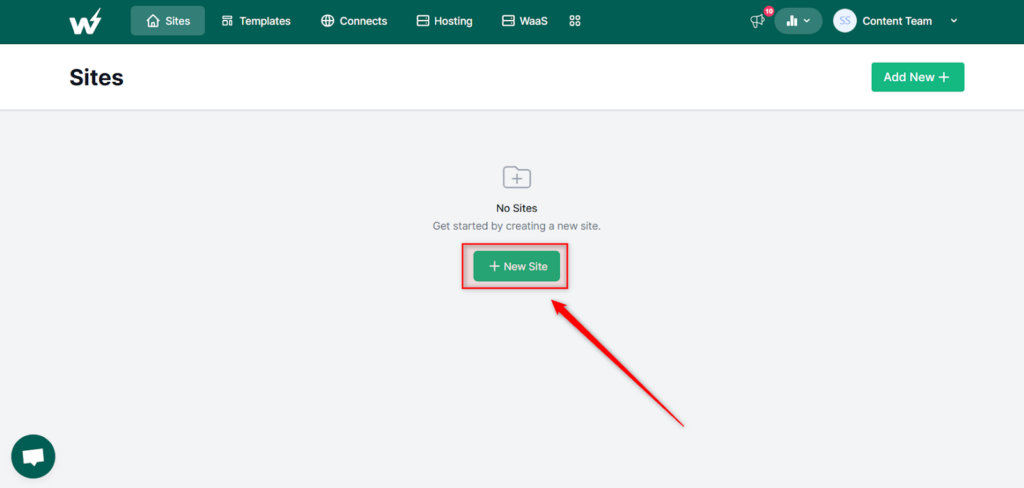
- Go to the Sites page and click + New Site.
- You will see a pop-up screen now. Select the From Scratch tab.
- Here, you will find a good long list of plugins that can be installed with InstaWP. In the category WooCommerce, and select the plugin PeachPay.
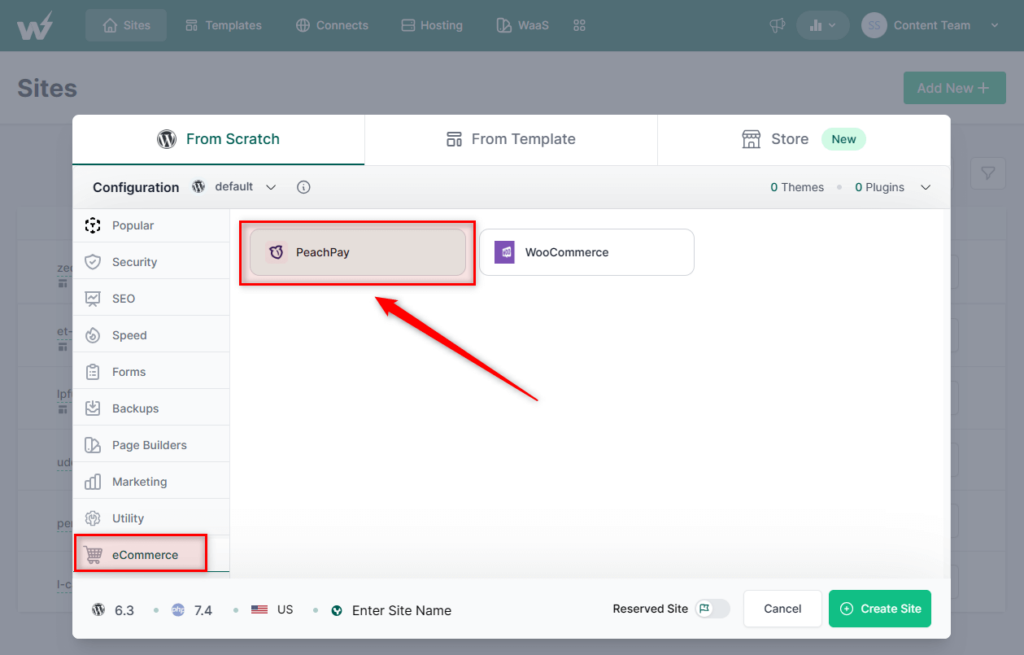
- Want to pre-install more plugins on your site? Select them from various categories, too. You can also add the site’s name, change configuration, and mark your site as reserved before you go ahead.
- As PeachPay is a WooCommerce plugin, make sure that you select the Configuration as WooCommerce. If you won’t do so, you will have to install and set up WooCommerce manually for your website.
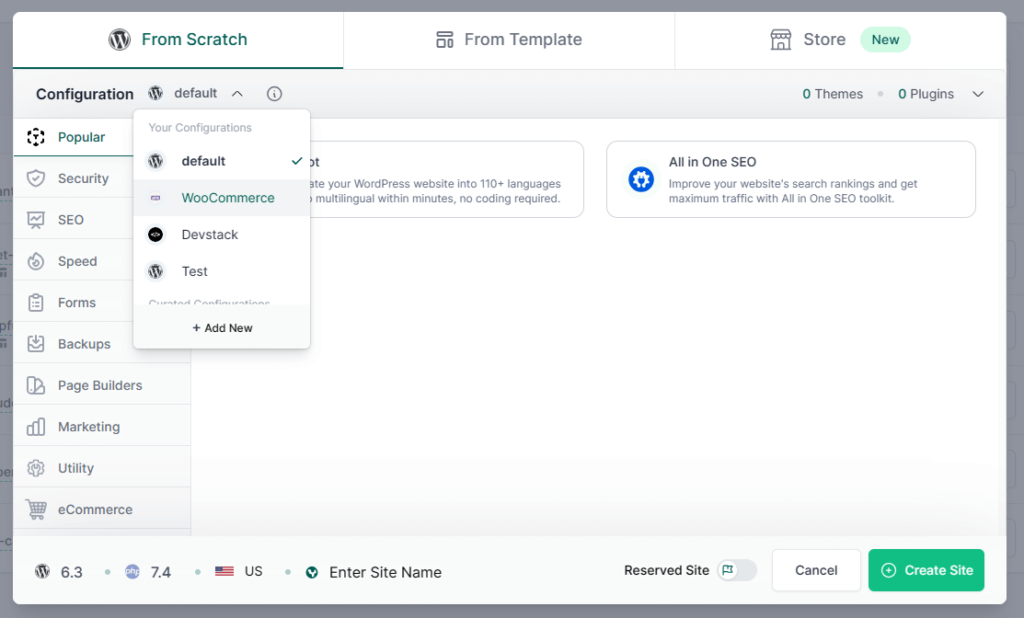
- Click Create Site, and that’s it.
You will have the site’s details and a Magic Login button to visit it. Of course, the PeachPay plugin is pre-installed on it.
Want to use PeachPay PRO for your site? You can add an API key and upgrade in no time.
The Final Word
It is essential for WooCommerce development agencies to ensure that they build stores that offer the best checkout experience to their clients’ end-users. And for this, not just you need an optimized checkout page/process, but your payment plugin should also be powerful enough to offer all essential payment options. With this, you won’t have to install various plugins for one purpose.
As PeachPay enables WooCommerce stores to

