Making changes to your WordPress site without testing them out thoroughly is a recipe for disaster. Before you make any changes live on your site, it’s imperative that you test them thoroughly.
To test these changes, you can create a staging site first. A staging site is essentially a copy of your live site, but one that’s set in a private environment. This lets you test as many changes as you want without letting it affect your live website.
This means that your live website remains completely unaffected while you’re testing the new changes. In this post, we are going to explore the best way to set up a WordPress staging site for testing.
Why Use a WordPress Staging Site?
Most developers often use a local testing environment to test changes before moving them to production. However, it’s highly recommended that you use an online staging environment before you go live with your changes.
Testing locally just isn’t a suitable litmus test to gauge the quality or stability of changes and to determine if they’ll work fine – especially with other dynamic content on your site.
In most cases, developers usually test for known issues, but what about other problems that may arise later on? You can’t rely on hope to ensure smooth deployments; it’s just too big of a risk, and in case something goes wrong, the downside can be devastating:
- Lost potential revenue
- Negative impact on goodwill
- Customer attrition
- Rolling back changes or having to issue quick fixes
A WordPress staging site allows you to evaluate how your site will react when you make any changes, including server performance. You can easily test new functionality without letting it affect your live site.
This ensures that you don’t miss out on traffic figures or analytical data, which is critically important for monitoring site performance.
When Should You Use a Staging Site?
There are several instances where using a staging site is highly recommended:
Simple Updates
When you’re updating the WordPress core, certain plugins, or themes, it’s always good to first make changes in a staging environment. You’ll be able to identify any site-breaking problems and fix them before actual deployment.
Installing New Plugins or Themes
Similarly, any new plugins or themes must be tested on a WordPress staging site so that the changes don’t affect users on your site. Certain plugins might not play well with others and may cause your site to break. No plugin developer can possibly hope to test their own code against every possible combination of themes and plugins available, which is why this has to be something you undertake yourself.
Testing in a staging environment lets you tinker with each plugin or theme and make as many changes as you want without affecting the live environment.
Testing Code
Significant changes to your website’s code (including CSS) should always be tested on a staging site first. There’s always a risk of things breaking and causing issues. Using a staging environment helps you bypass all of this trouble.
The Best Way to Set up a WordPress Staging Site
There are several ways to set up a WordPress staging site. Let’s break them down one by one, starting from the best to the easiest method available.
Use InstaWP

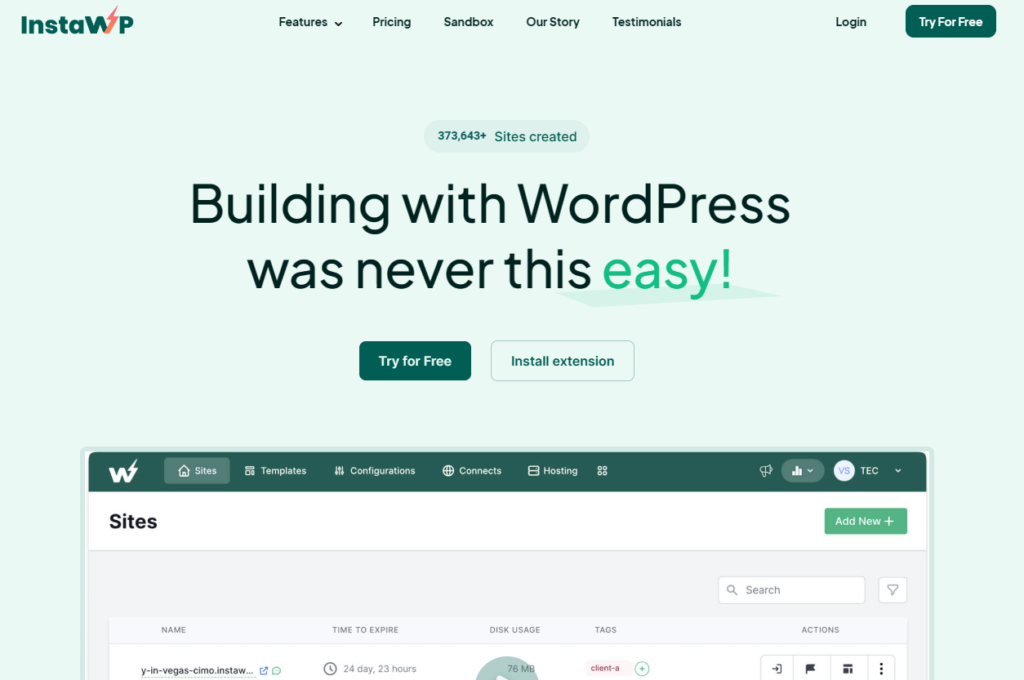
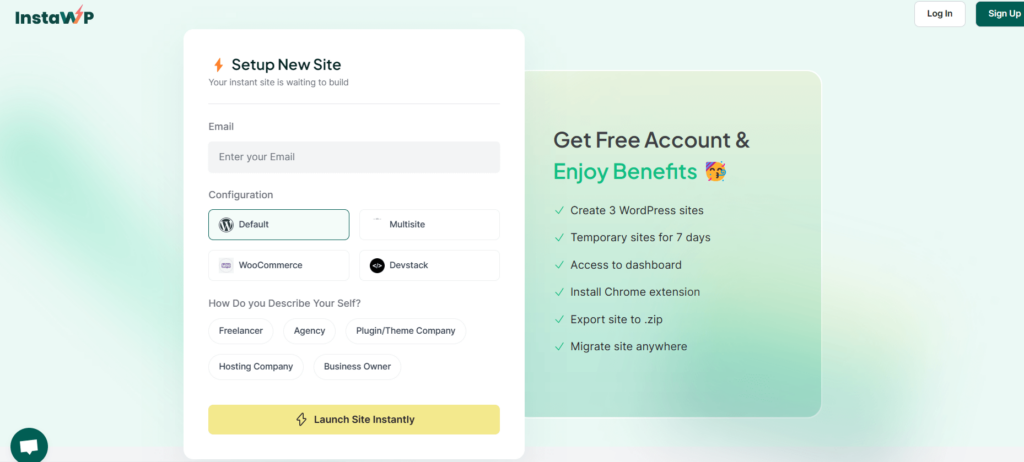
InstaWP is an excellent tool to spin up new WordPress staging sites and create sandbox environments within seconds. InstaWP lets you create and launch websites within a few clicks, letting you choose the WP version, the PHP version, and your preferred configuration:

The free version lets you build unlimited sites (each expires in 48 hours), and even gives you a code and database editor to make changes. If you’re satisfied with the site, you can easily export it to any hosting platform of your choice.
This feature has recently seen a huge update with the release of a new plugin that allows you to connect any web hosting company you’re with to your InstaWP staging site. This plugin gives you the power to instantly transfer your staging site in InstaWP to your externally hosted site elsewhere with just a single click.
You can quickly and easily duplicate your existing site within InstaWP, test out your new plugins, themes, code, CSS, or other settings, and when you’re happy with everything, click ‘Publish,’ and the entire site will be copied across to your existing location – no matter which web hosting company you’re with. It really couldn’t be much easier!
InstaWP has a full domain manager, making it easier for freelancers or agencies to test various domains through a centralized dashboard. If you’re managing multiple clients, InstaWP lets you work seamlessly on multiple sites without having to remember passwords.
For quickly spinning up a WordPress staging site, InstaWP is by far the best choice. It offers an array of impressive features too:
- SSH/FTP access
- Seamless migration
- Free SSL certificate for each site
- Create templates for specific staging sites
- Test themes and plugins easily by connecting to Git repositories
- Integrations for Slack and Google Chrome
InstaWP is great for showcasing work to your clients or testing specific elements before you push them live. It gives you complete control over every aspect of your site, allowing you to launch sandbox environments with pre-defined plugins or themes too.
However, apart from InstaWP, there are other options that you can use to create a staging environment as well.
Use The Staging Environment from your Web Hosting Provider
Certain hosting providers often provide dedicated staging environments for their users. Staging sites are often mapped to a subdomain of your site. For instance, premium hosting providers such as Servebolt let you create site copies for use as staging environments.
Other hosting providers that offer staging environments include:
All you have to do is to log into your dashboard and look for the staging option. Most premium providers let you deploy a staging site in a few clicks.
Or, if you’re using cloud hosting and using a control panel such as RunCloud for server management, you can also create a staging environment from the dashboard.
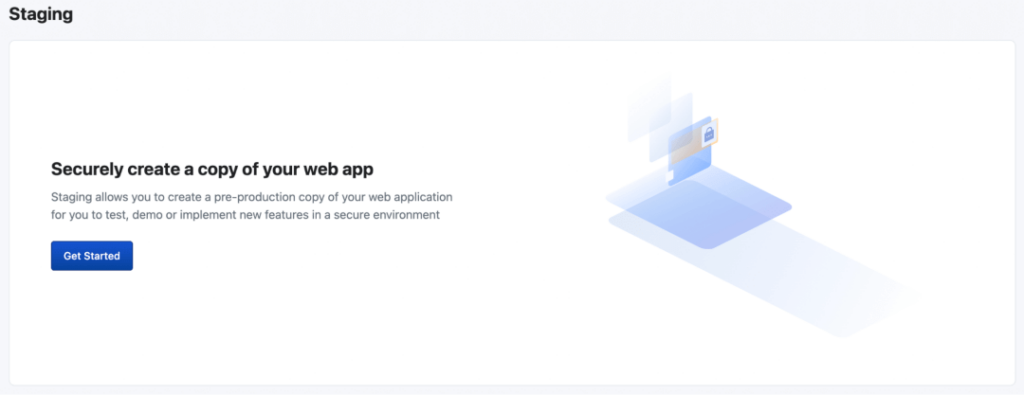
RunCloud lets you use a free domain for staging, or you can map it to your own subdomain:

The staging site works as a standalone application, letting you make as many changes as you want. If you’re satisfied with the changes, you always have the option to merge the changes with your live site.
Use a WordPress Staging Plugin
Not all hosting providers offer the option to create a staging environment. If your hosting provider doesn’t offer a dedicated staging environment, there are a few plugins that you can use to clone your site.
For instance, WP Staging is a popular plugin that lets you create backups and clone your website quickly. The data is stored on your local server, letting you quickly clone your site.
WP Staging also lets you select which database tables or folders to clone. However, you have to install the plugin on your site first, which may negatively impact performance.
Make Staging an Integral Part of Your Workflow
Whether you’re a webmaster, a freelancer, or an agency owner juggling multiple projects, it’s imperative that you always use a staging environment first before pushing changes to a live site.
It helps you identify any unknown issues and fix them without affecting your actual site. InstaWP is easily the best solution for creating a portable staging environment. It’s free to use, and you can always upgrade to a subscription, depending on your requirements.
Try it out for free today, and see for yourself how quick and easy it is to create a free WordPress staging environment, and follow the conversation on Twitter! 💬


